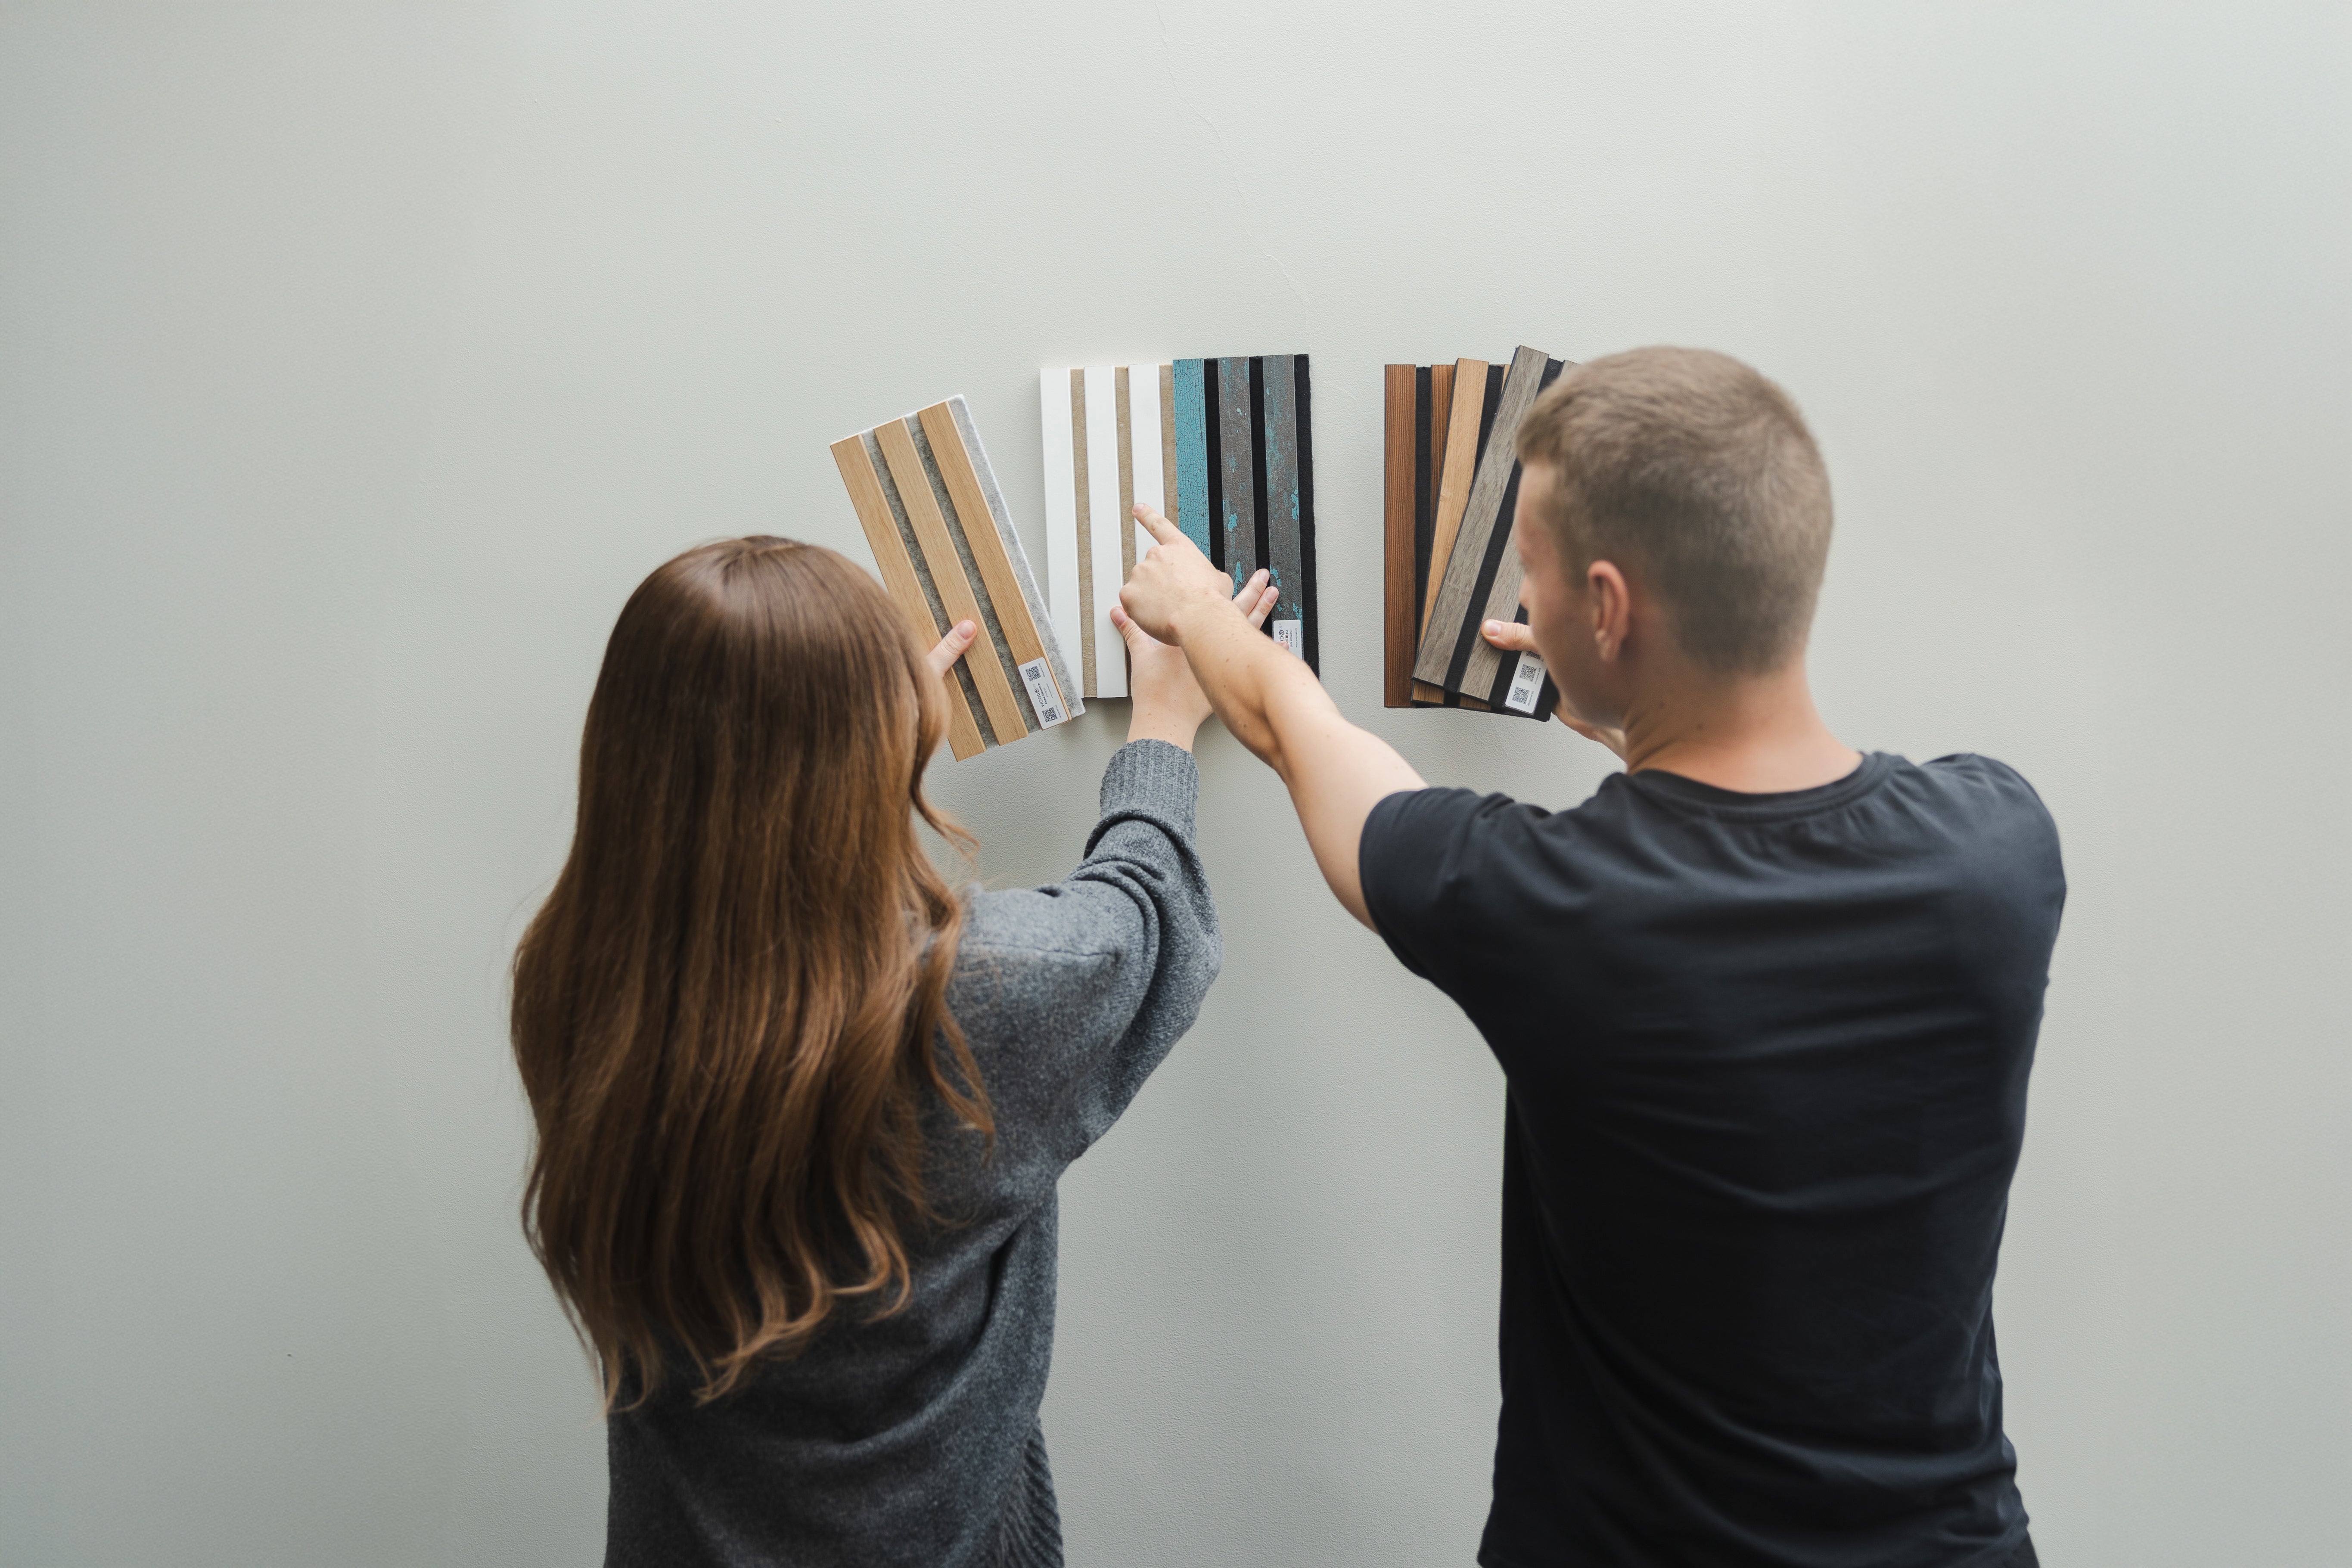
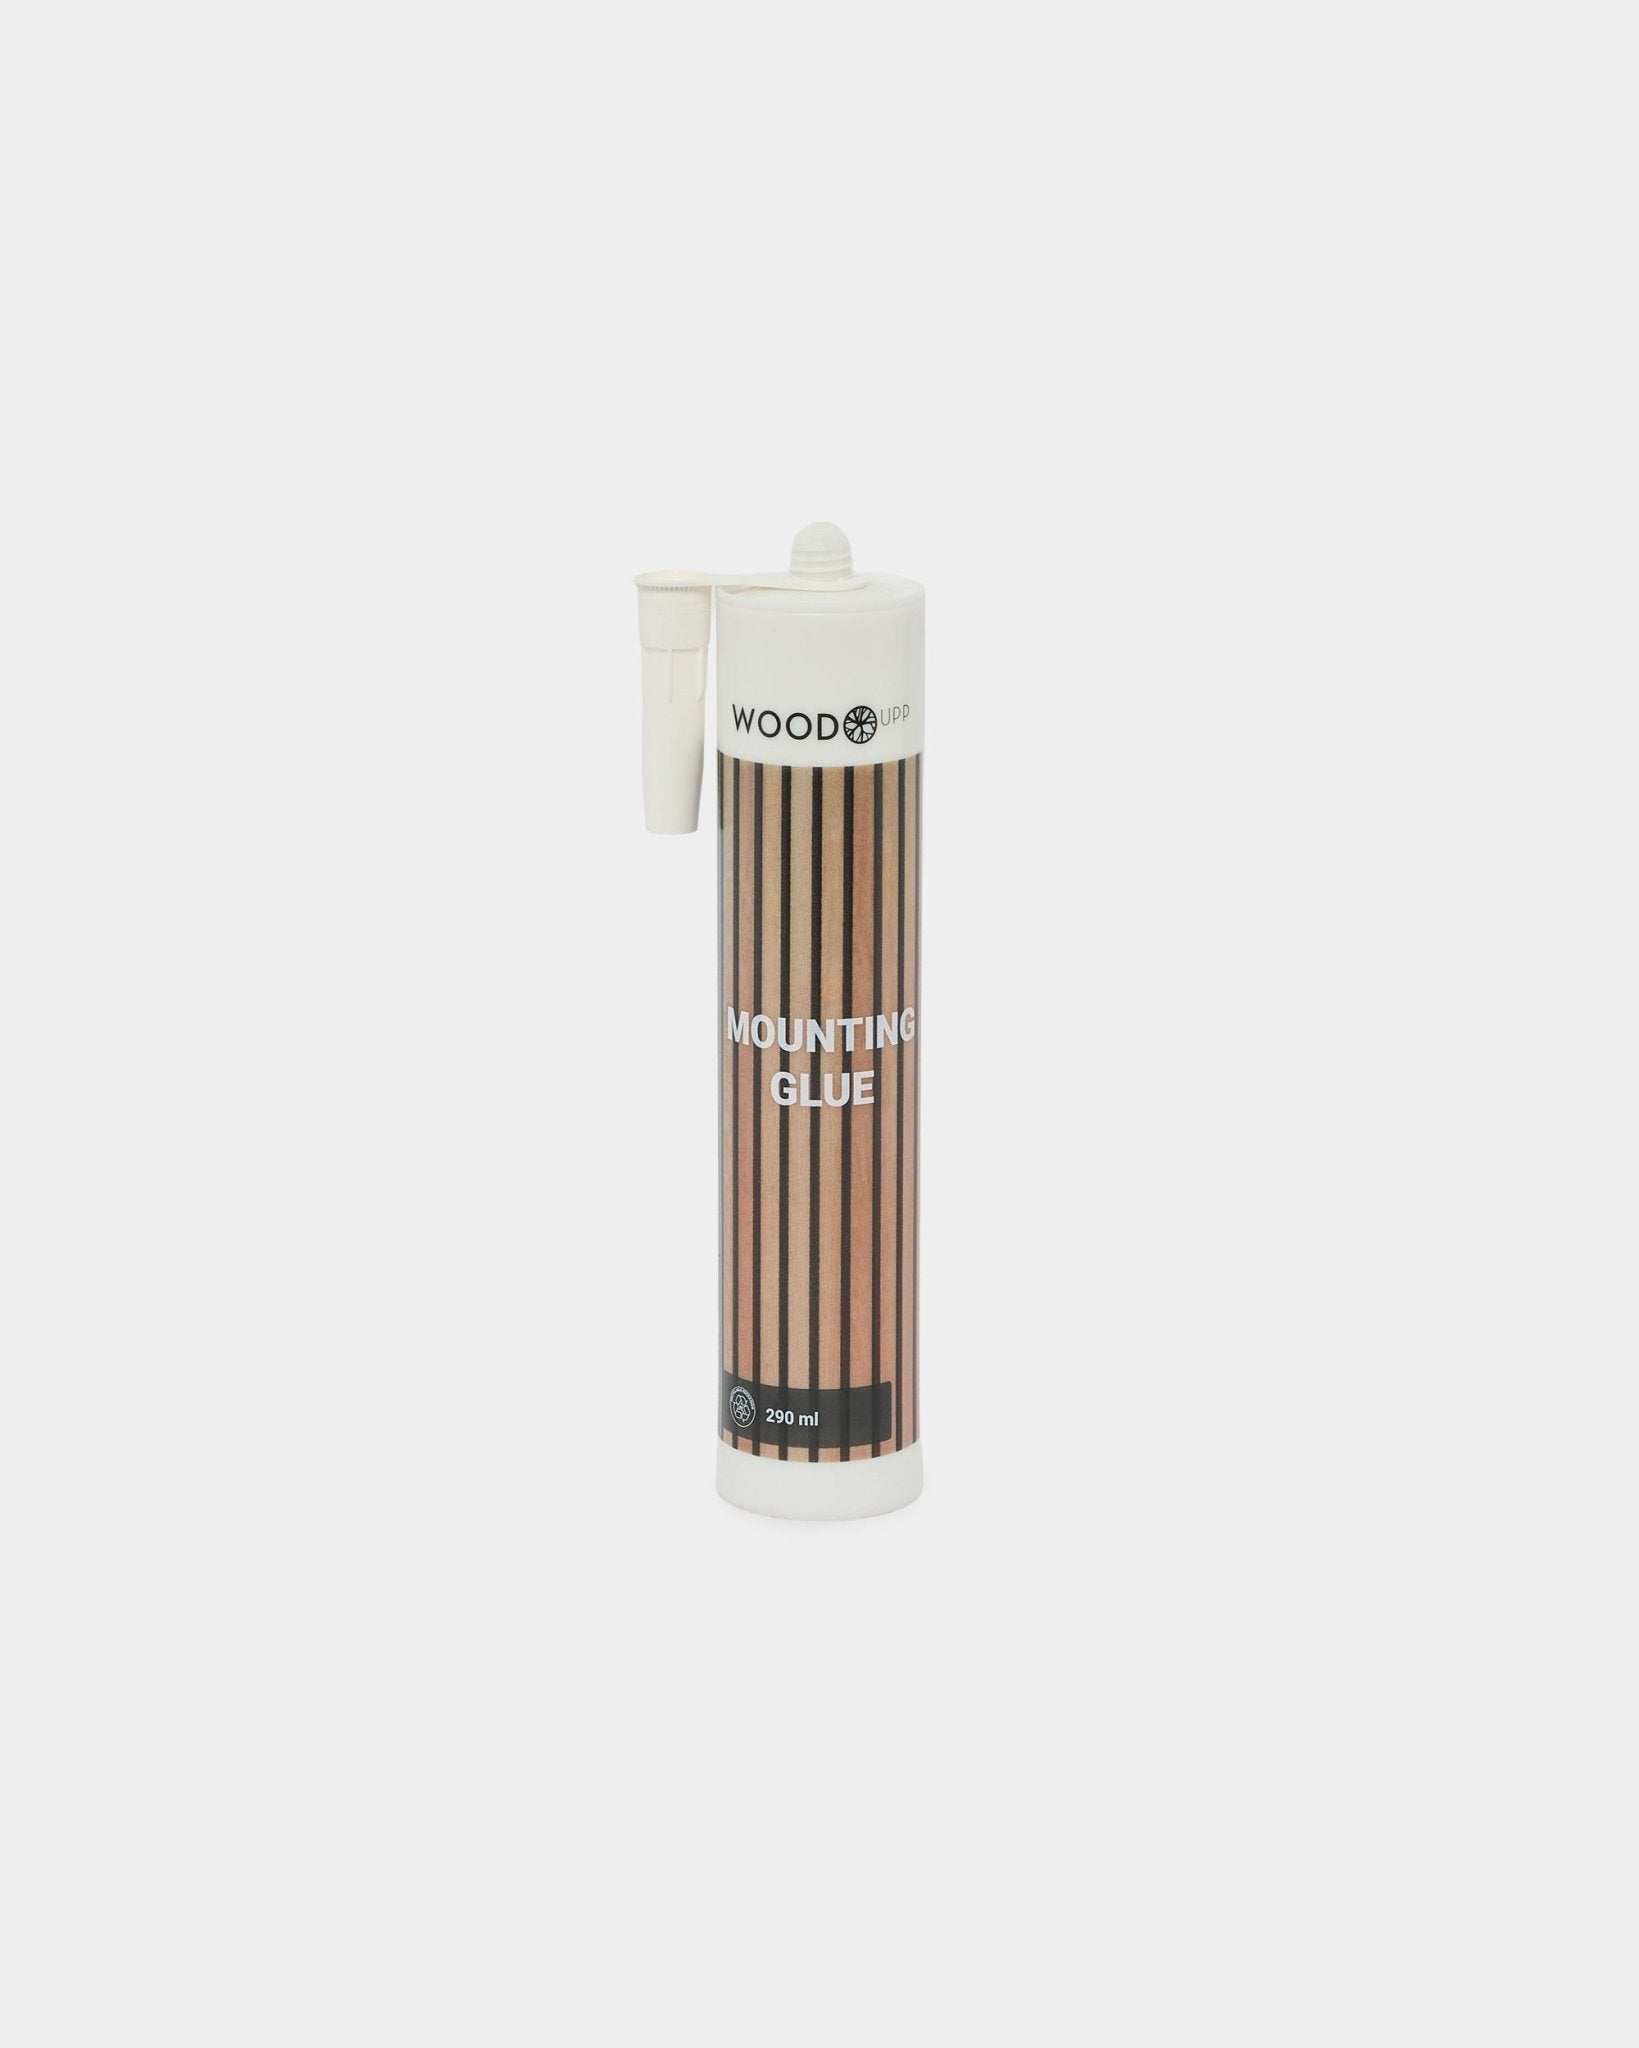
Start by cutting the top of a glue tube and inserting it into the glue dispenser. Then distribute the glue evenly on the felt on the back of a panel.
Now you are ready to install the panels. Place the panel against the wall on the marked area on the wall. Press the panel against the wall over the entire surface, so that the glue is well distributed and sticks. Within 20-30 seconds, the glue will secure the panel to the wall without further support needed. Check if the panel is installed straight by using a spirit level along the way.
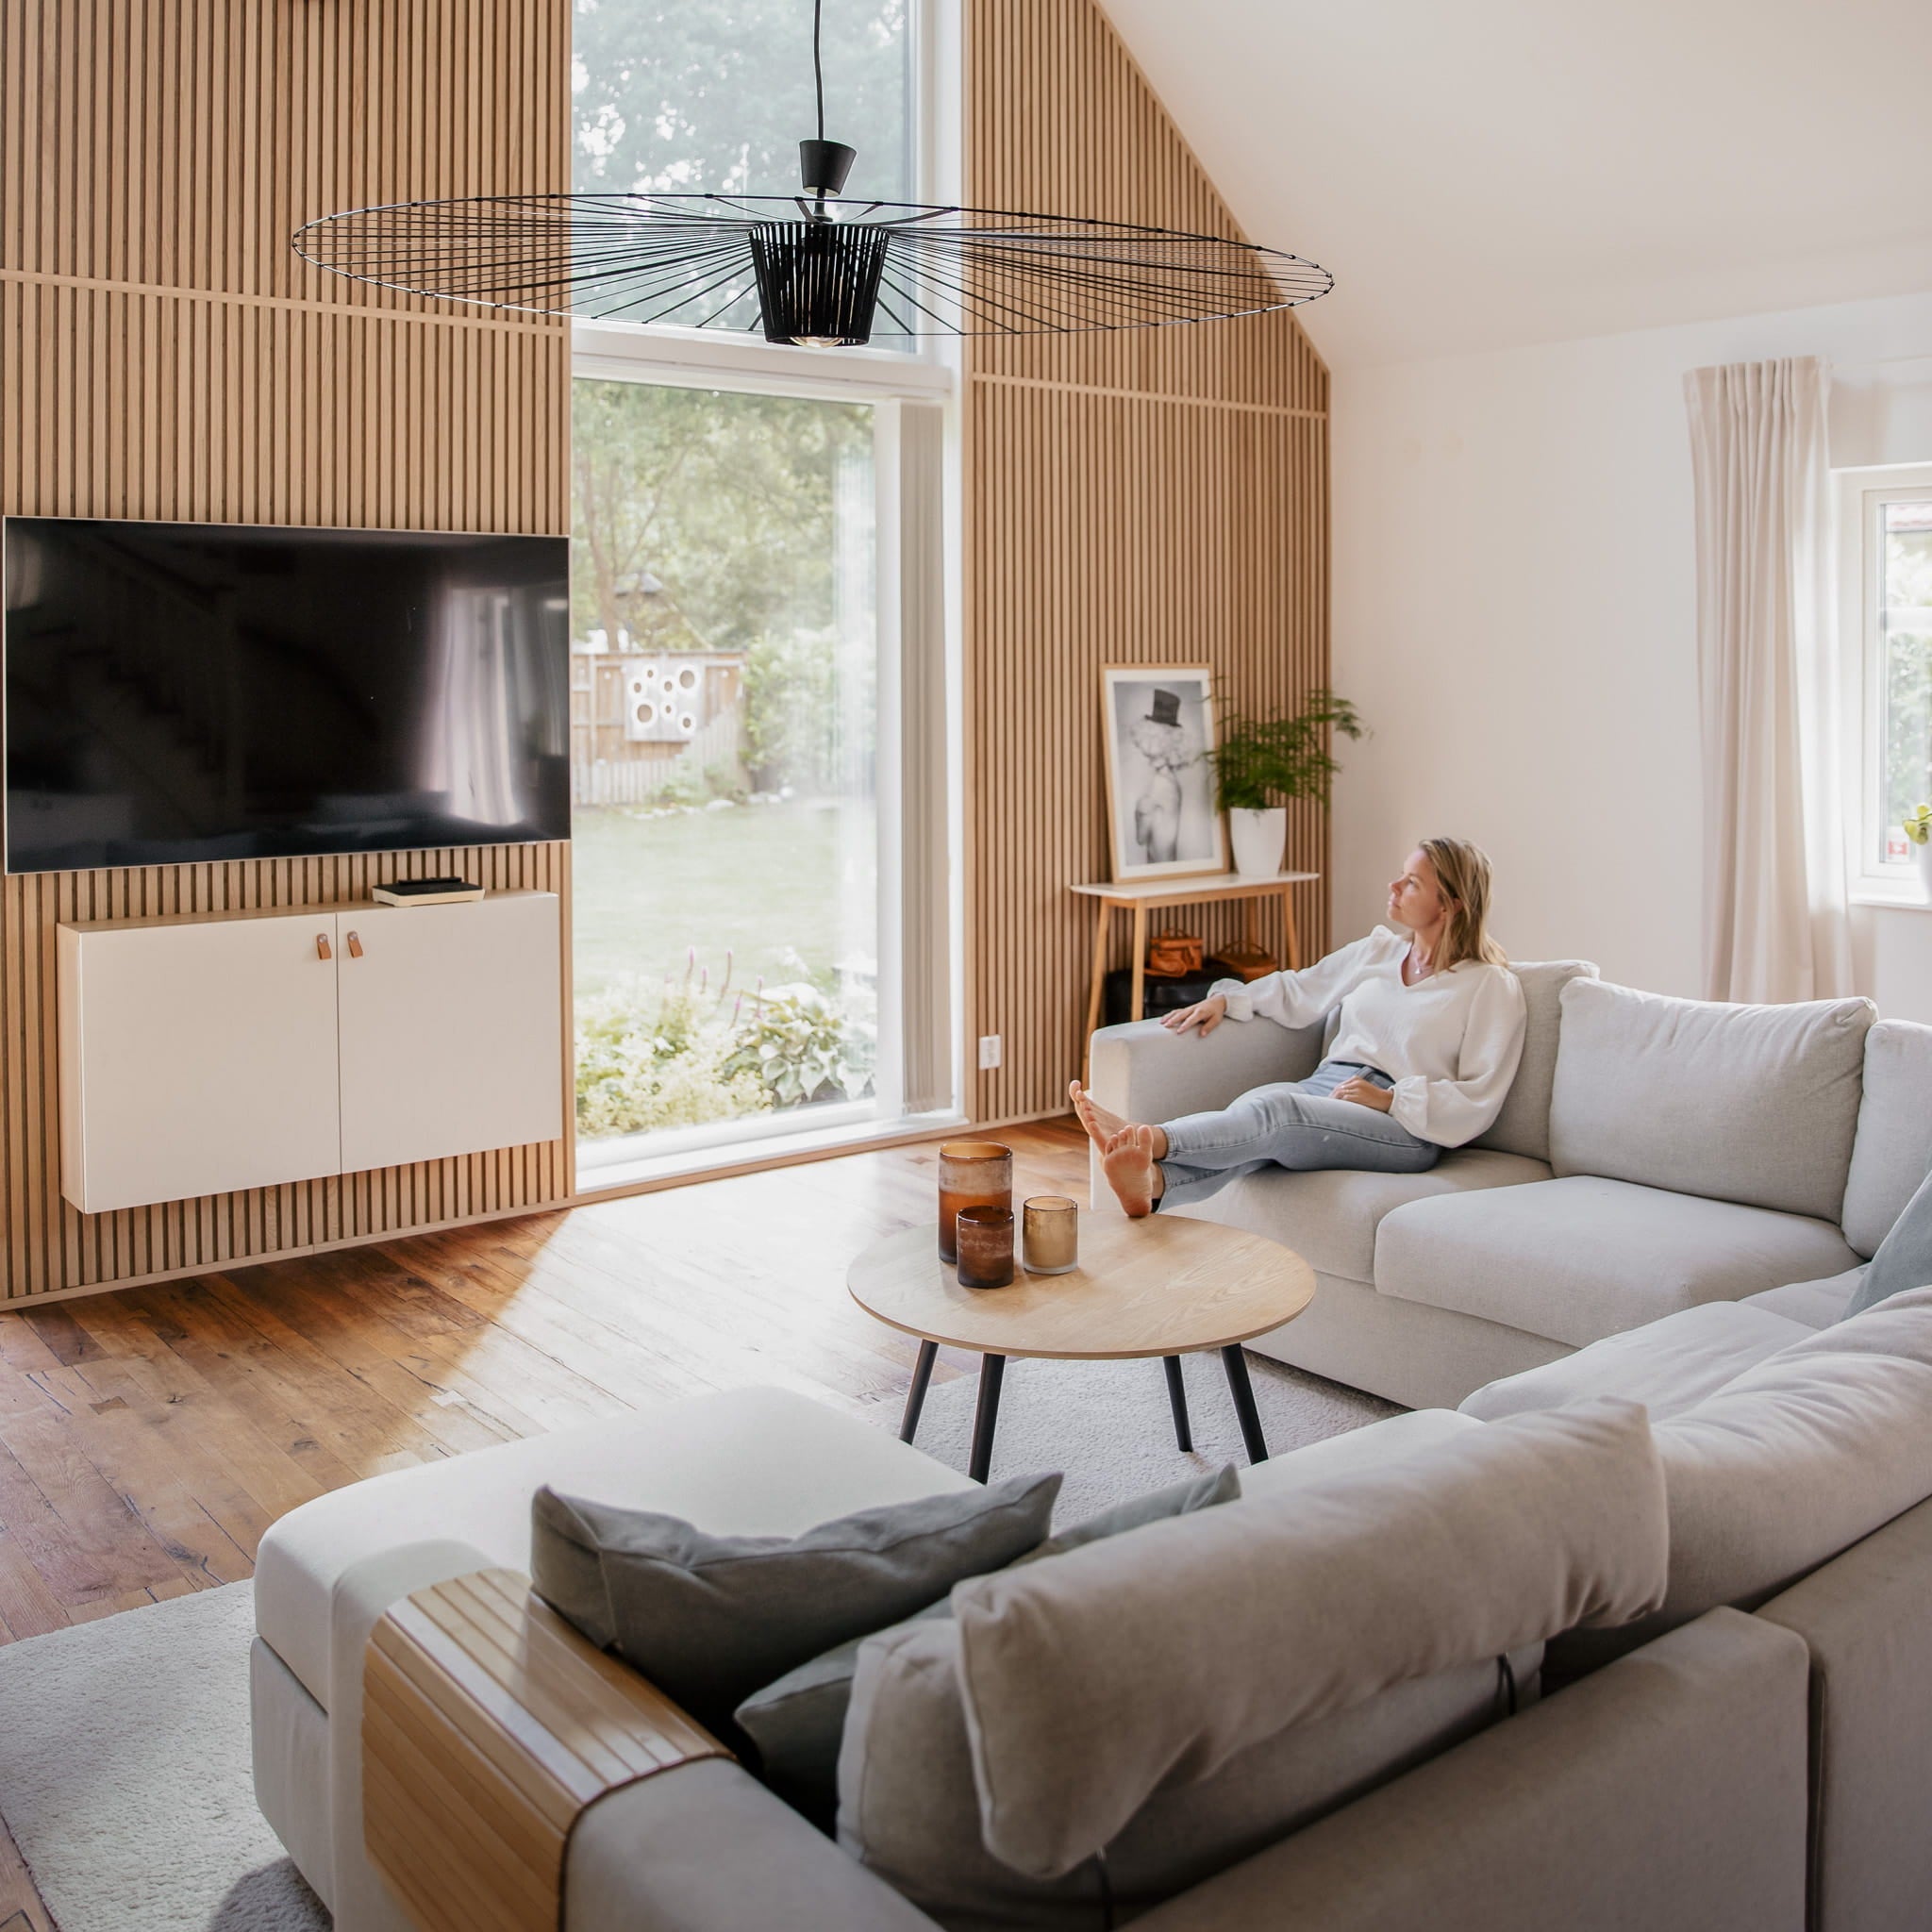
This video shows how our acoustic panels look and integrate into a styled room.How to mount the panelsPlay video 18 sec
Step 5: Cutting the panels to width
When you reach the end of your wall, you may need to cut the panel to fit in width.
You can adjust the panels in width by cutting the felt with a knife.
Then glue the last part of the panel onto the wall.
This video shows how our acoustic panels look and integrate into a styled room.How to cut the panels widthPlay video 36 sec
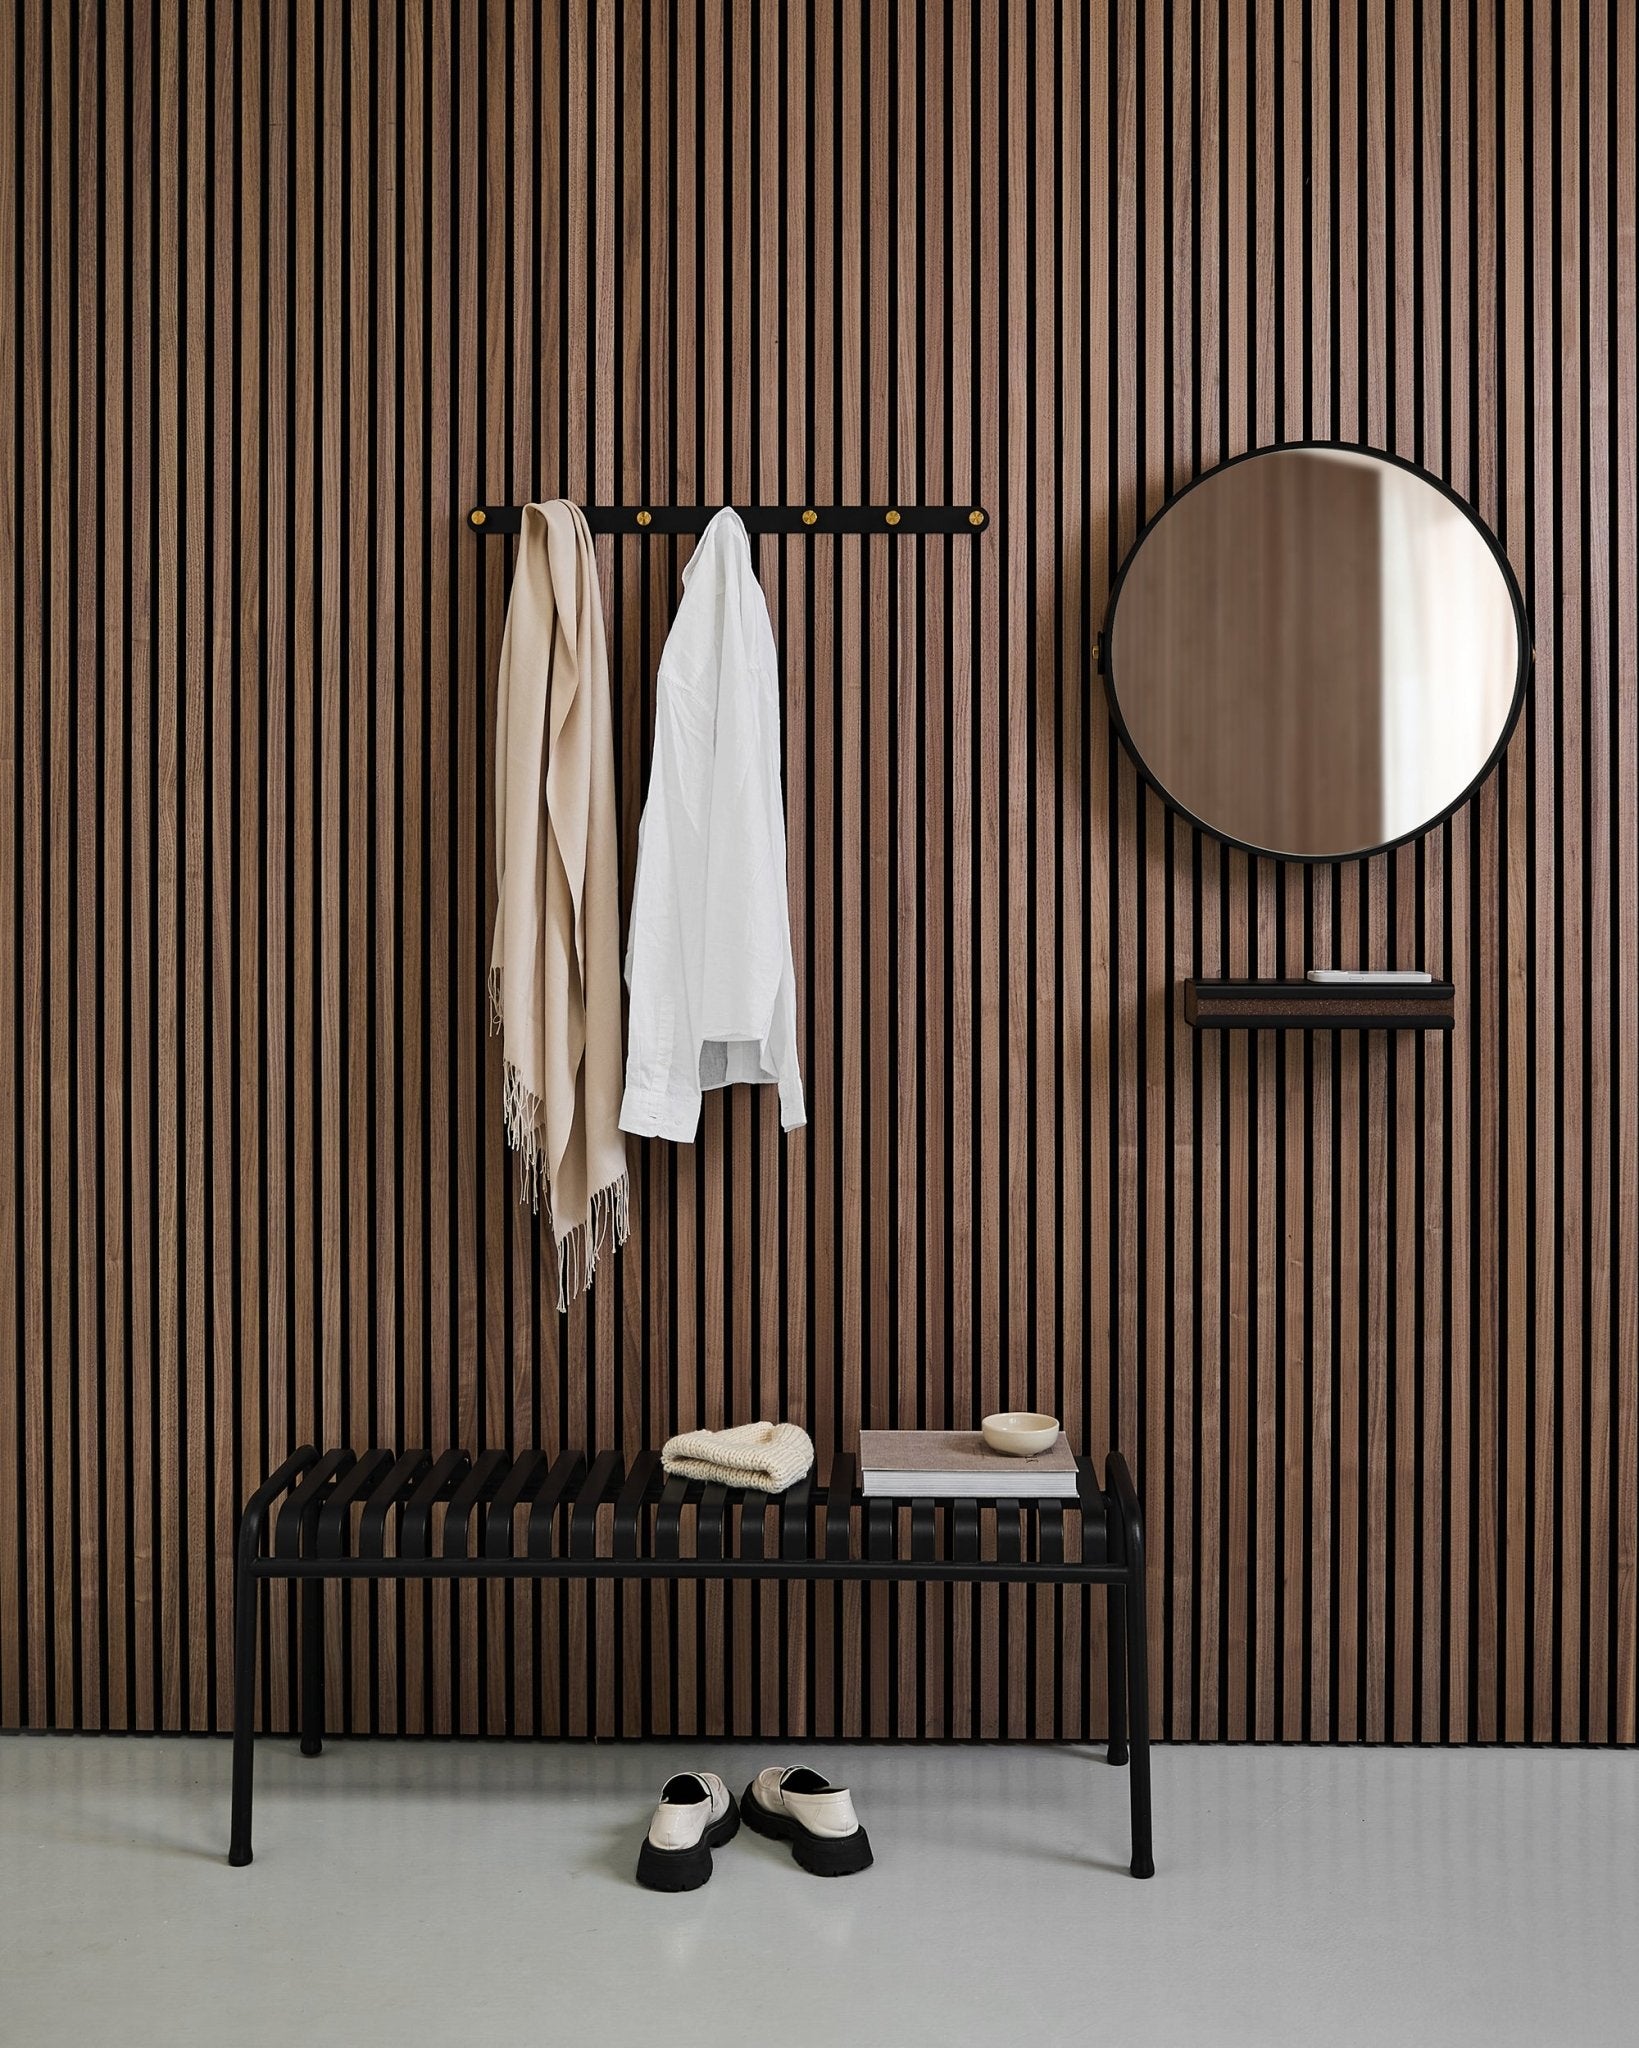
Step 6: Add end-lamellas
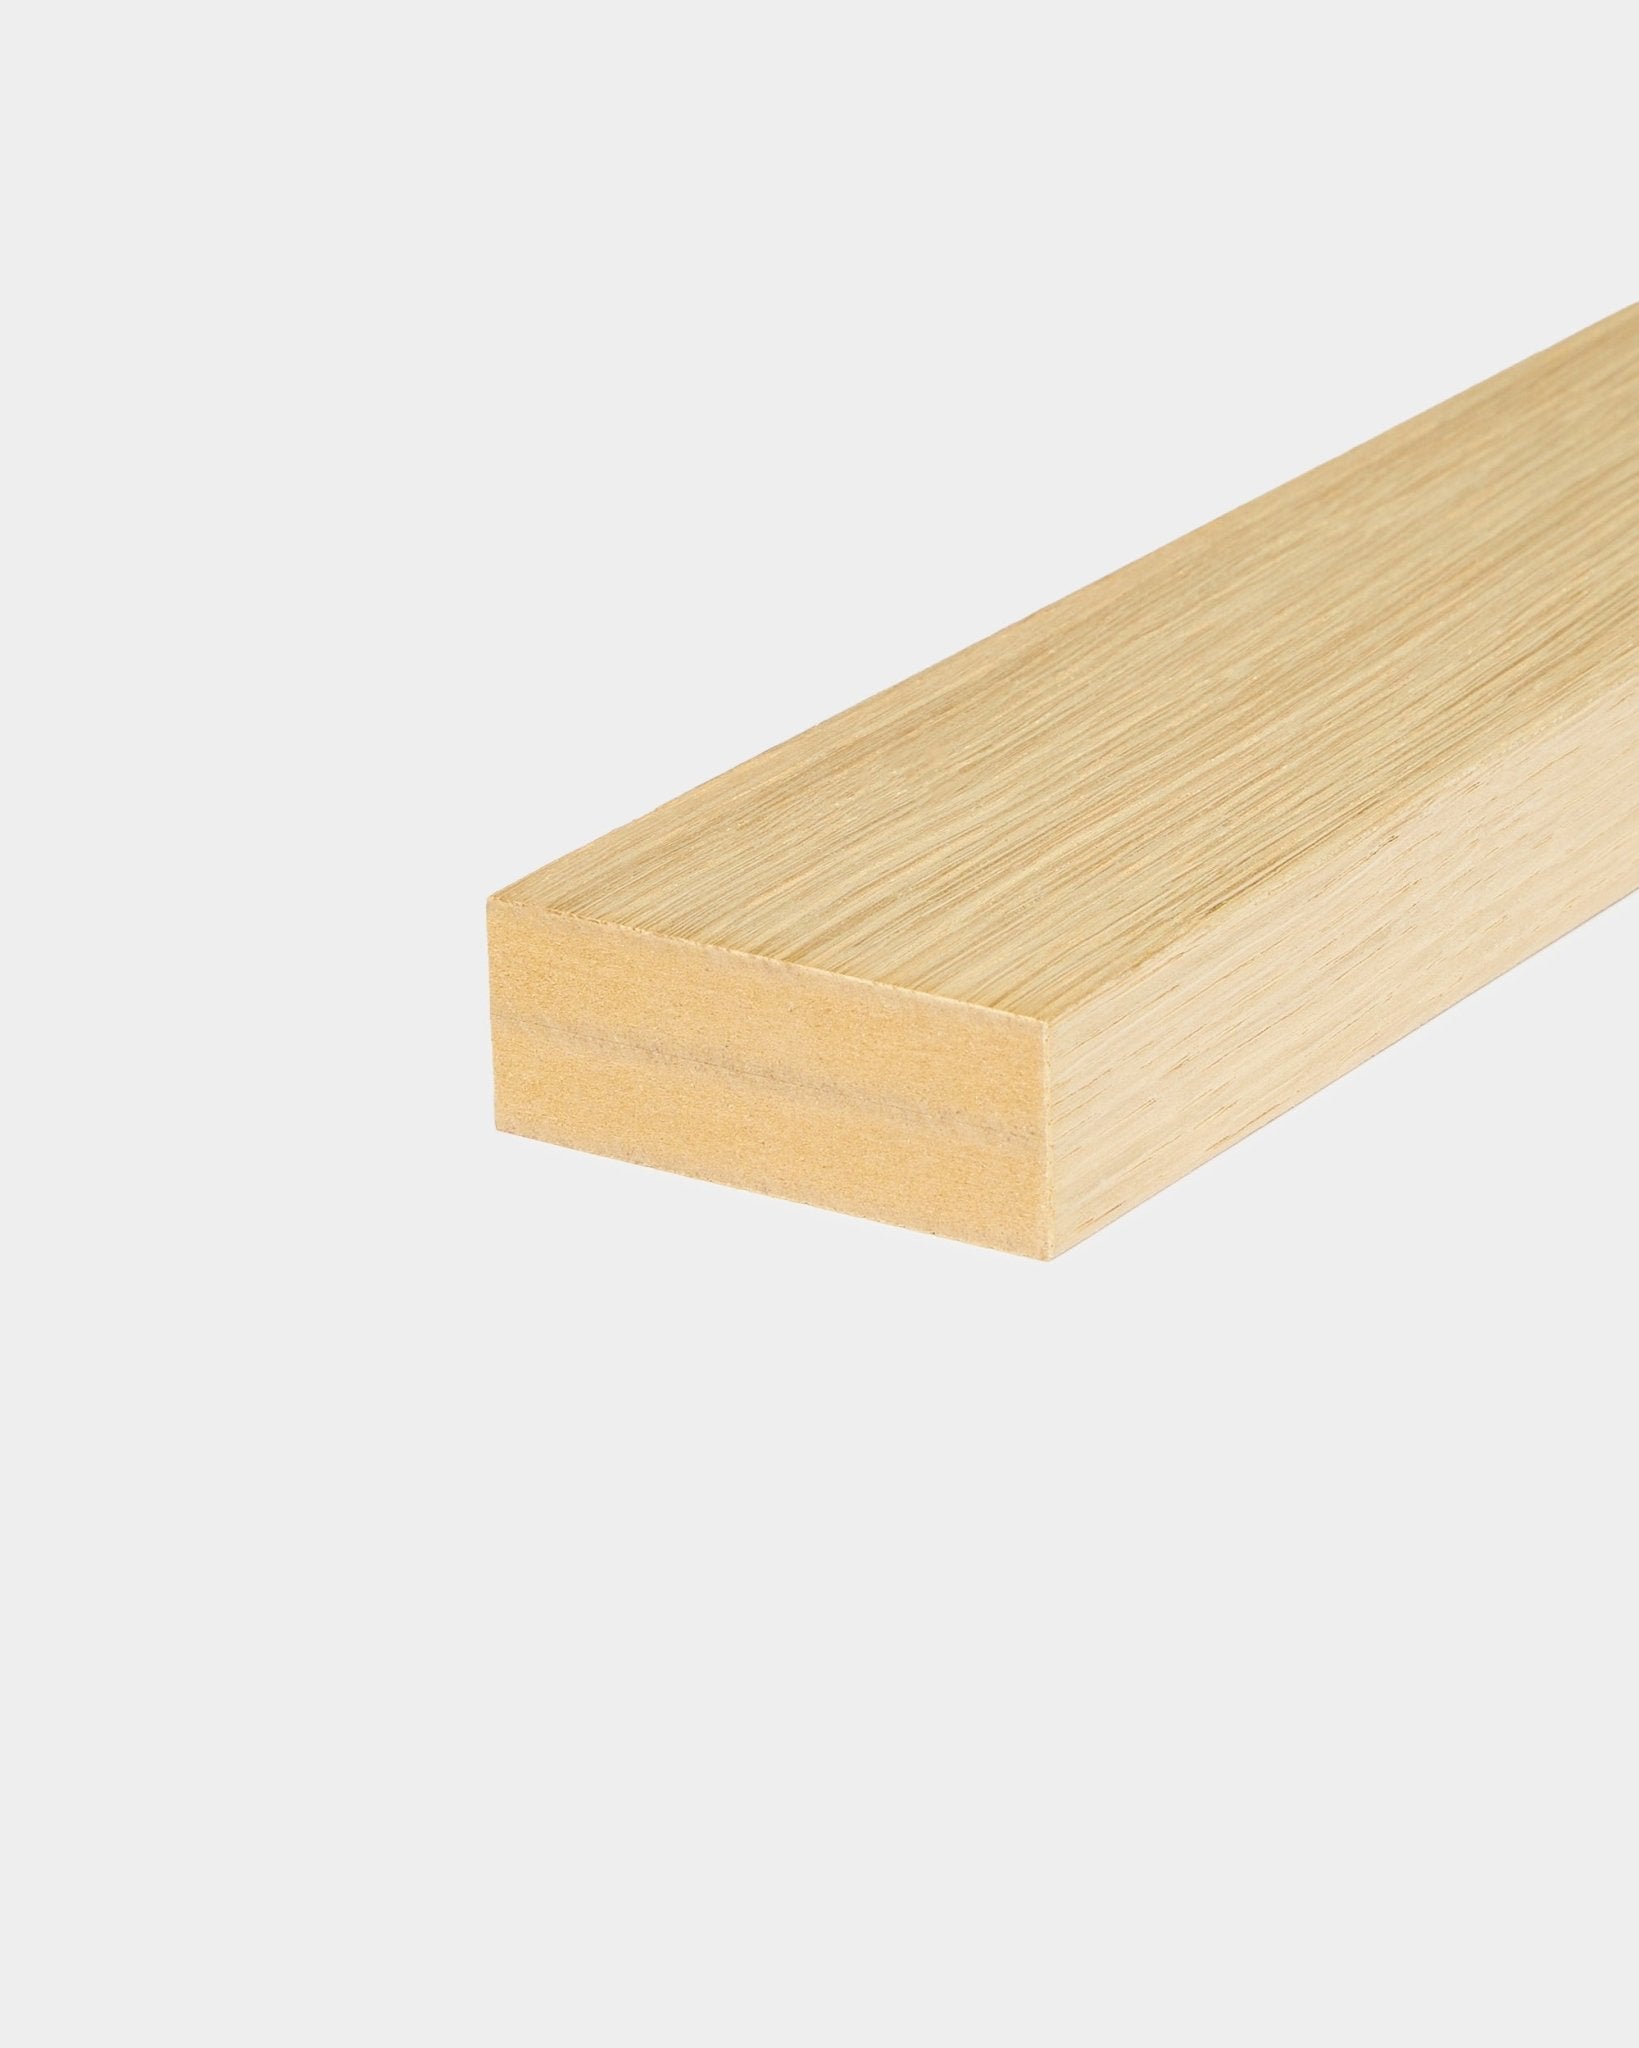
To get a neat finish to your wall, you can add end-lamellas. Each panel has a felt and a slat side. In case your wall ends with a slat side, you will need to cut off the final slat in order to make sure that the panels gets two felt sides.
Now load your caulking gun with mounting glue and apply a thin layer to your end-lamella. Carefully place the end-lamella to your wall.
This video shows how our acoustic panels look and integrate into a styled room.How to add end-lamellasPlay video 20 sec
Now you are done!
Are things not going as planned? We are here for you if you need help.
Call us
+45 78 74 02 02
Send us an email
pm@woodupp.com
Business hours
Monday to Thursday: 8.00-16.00
Friday: 8.30-13.30
Contact us
Business hours
Monday to Thursday: 8.00 – 16.00
Friday: 8.30 – 13.30
+45 7874 0202
pm@woodupp.com
International
About WoodUpp
Customer Service
® WoodUpp – VAT: DK36924187
Your cart
No products in the cart.